Taking Photos
There's a few parts of taking photos you'll learn here:
- (Click on a list item to jump there)
- ✦ Rule of Thirds
- ✦ Backlighting
- ✦ Golden and Blue Hours
Let's start with my personal favorite:
The Rule of Thirds
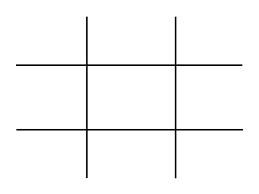
There are two parts to the Rule of Thirds, but both are based around a grid split vertically and horizontally into thirds, like this:
Now, let's put that grid on a well-taken photo, according to the Rule of Thirds.
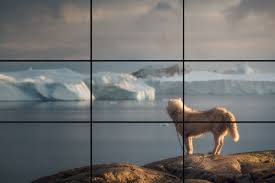
This is a really good picture! Notice where the arctic fox is positioned on the grid. Directly on the spot where the lowest and leftmost lines intersect, right?
The first part of the Rule of Thirds says that the focus of the image should be placed on or near one of the points of intersection. Having the focus just off-center draws the eye to it.
Now, for the second part, look at this picture.
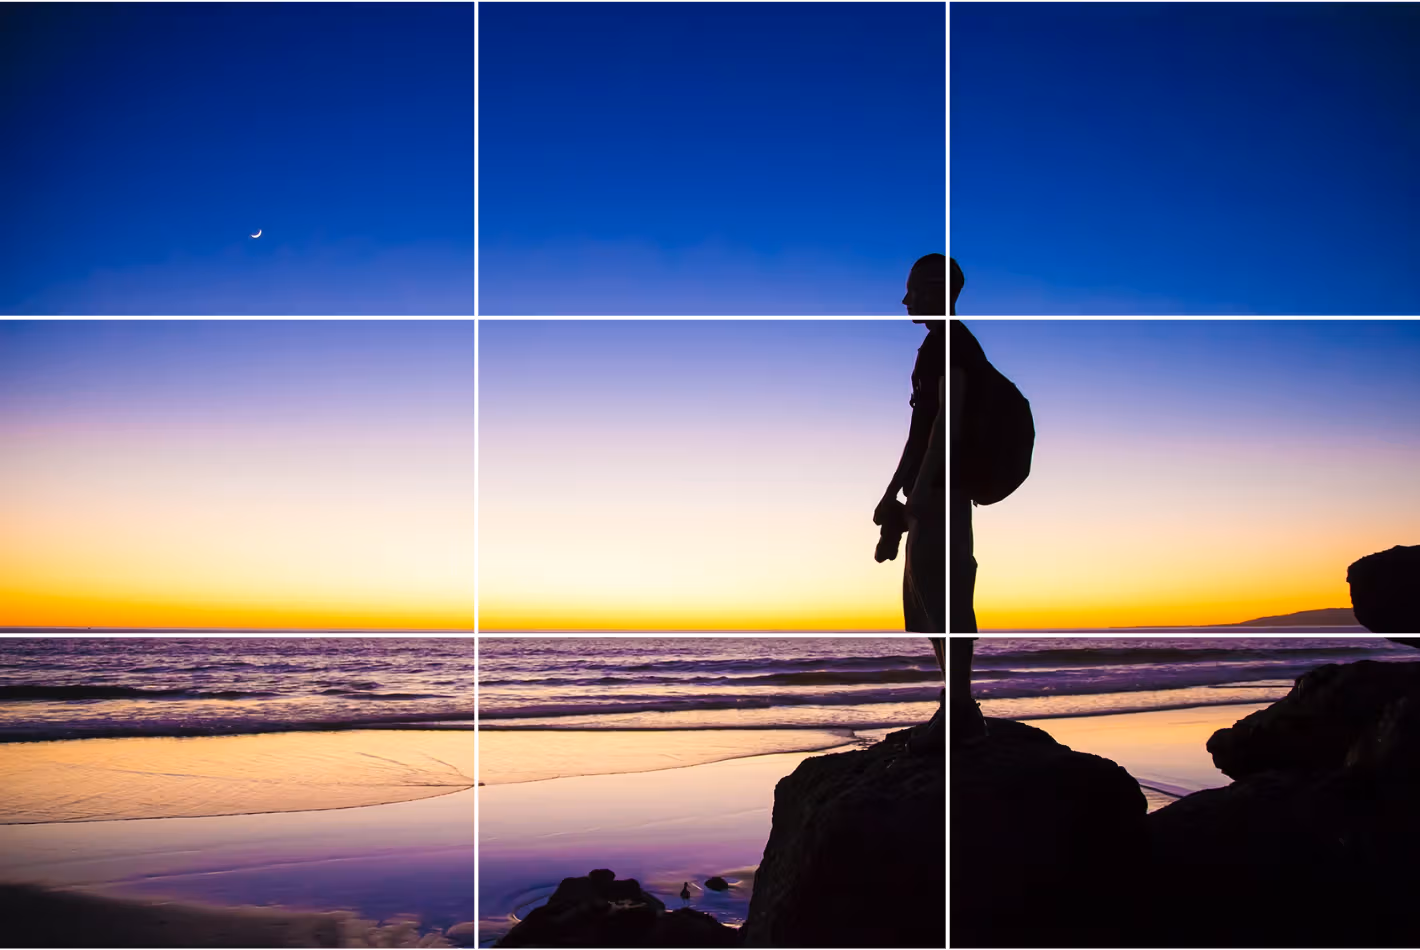
Once again, the man is just off center. Since it's a taller focus, he's centered on two dots.
As for the actual second part, look at the ocean, specifically the horizon. Notice how the photographer carefully placed that on the grid.
The second part of the Rule of Thirds says that if your focus is mainly above the horizon, then the horizon line should be on or near the bottom line. And, as you may have expected, if the focus is mostly below the horizon, then the horizon line should be positioned on or near the top line.
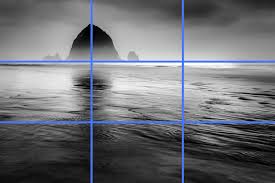
Here's a quick example of one with a focus below the horizon:
Lighting
I've got a few tips for lighting! Lets start, once again, with my favorite.
Backlighting
Take a look at a few of these nicely lit images! What's so similar about of all of their lighting?
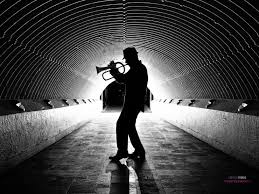


Notice how they all have their focus positioned directly in front of the main light of the image. This is called backlighting.
Backlighting is essentially having a light directly behind the focus, creating an outline of light around the focus, which adds a dramatic effect to the image. This is usually done in professional photoshoots by just placing a light immediately behind the focus, like this:
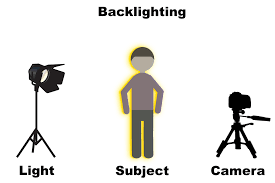
Outside of this setting, you can have the subject move, or position yourself so that a light, like the sun or a stadium light, is behind the focus.
Golden Hour and Blue Hour
I'm sure we're all heard the song Golden Hour, but have you ever thought about what golden hour actually is?
Golden hour is a real term in photography that refers to a time with certain lighting. Try to figure out when this golden hour photo was taken:

First things we notice about this image, the name doesn't lie. Golden hour provides warm yellow, orange, and gold tones, perfect for a dreamy, inviting photo.
Golden hour is the first and last hour of sunlight during the day. It provides this beautiful, warm lighting.
Its counterpart is called Blue Hour. Try to tell when this one was taken:

Once again, very literal, very blue. Blue Hour brings out cold tones, since the residual sun takes on a navy or cobalt tone, perfect for moody, calm images.
While Golden Hour is the first and last hour of sunlight, Blue Hour is the first and last bit of moonlight. It's usually just under an hour, 20-40, but can last up to over 90 minutes depending on latitude, season, and weather.
Great job! Click the button below to return to the home page and choose another lesson, or get quizzed on your skills.